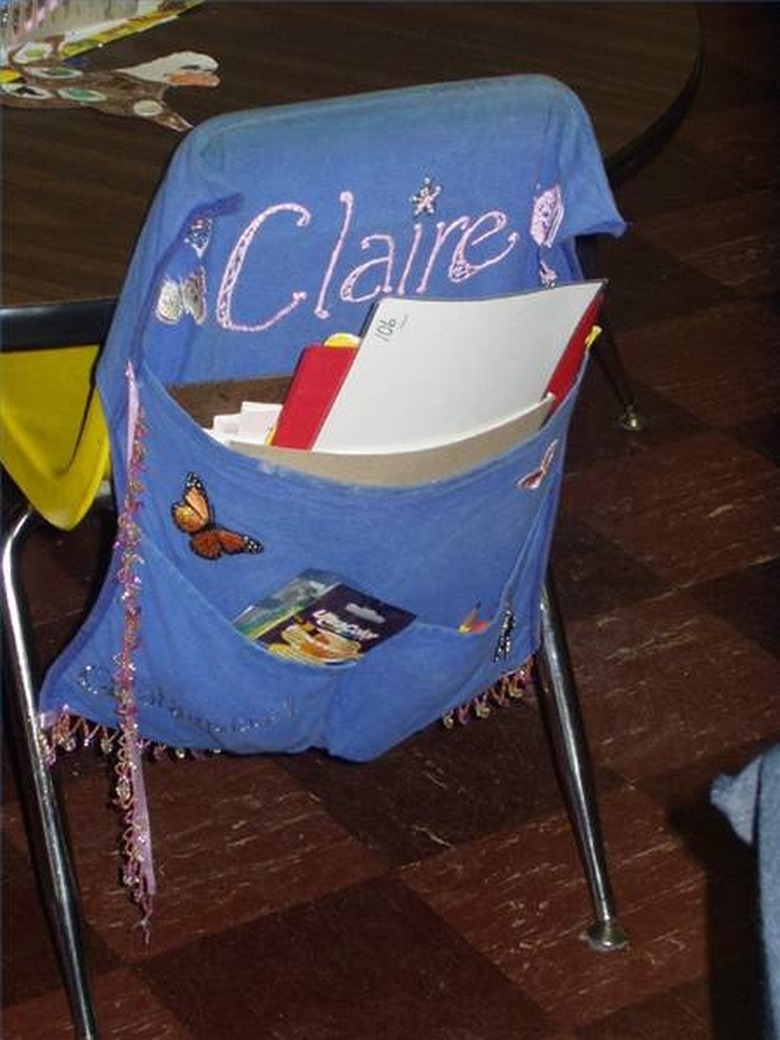
How To Make A Homemade Pack Organizer For A School Desk
If your students have messy desks and nowhere to store their materials, then creating homemade pack organizers may be the perfect solution! Also called Desk Back Sacks and Chair Pockets, these handy little organizers can be made fairly easily and with little expense. Best of all, they can be customized to the exact dimensions of your chairs and be designed to hold the specific supplies you'd like your students to store. Think carefully about what materials you'd like the pack organizers to hold, then construct the exact product you want using these directions.
Step 1
The amount of fabric you'll need depends on the size of the desk chair, so measure the actual chair carefully. Be sure to add an extra few inches on all sides for hemming. If you want your pocket to hold a pencil box or other bulky items, include extra width; if you want it to hold tall folders and notebooks, include extra length. A dimension of 17 by 36 inches may work well for small chairs used in the primary grades, and a dimension of 20 by 60 inches may be appropriate for larger chairs.
Step 2
Once you have cut the fabric to the desired size, sew up three sides, with right sides together. Use a 5/8-inch seam. Your pack organizer will look like a pillowcase.
Step 3
Turn the organizer inside out and press. Turn the raw edges under 5/8-inch (on the open side) and top stitch closed.
Step 4
Now you will create the pocket that holds the supplies. Fold the material up lengthwise about 12 inches (or however long you want the pocket to be) and stitch the sides, sewing through both the front and back of the pack organizer. Since children will be constantly tugging on the pocket, you may want to use reinforced stitching.
Step 5
Create the flap that will fit over the top of the chair by folding the top of the pack organizer back about 7 inches. If the flap is shorter than 7 inches, the pocket may have a tendency to slip off. You can affix a small amount of Velcro to the inside of the flap and to corresponding portions of the chair back to help the organizer stay in place.
Things Needed
- Heavy fabric (such as denim or burlap), prewashed
- Scissors
- Sewing machine
- Thread
- Serger to finish the edges (optional)
- Bias tape to reinforce the edges (optional)
TL;DR (Too Long; Didn't Read)
The front of the organizers may be decorated with student names. However, the packs will then have to be remade for each group of children. You may consider assigning each child in the class a number, and marking each pack with a number instead.
Have a parent volunteer to wash the packs twice a year to keep them from getting overly dirty. The packs may need to be ironed after washing.
Warning
Using bias tape or double stitching is highly recommended to ensure the durability of the organizers.
When making a class set, create one complete pack organizer first to ensure you are using the right dimensions. Once you have figured out the exact measurements you'd like, you can construct the other organizers, or give your sample to a volunteer to sew the remaining ones at home.
Cite This Article
MLA
Watson, Angela Powell. "How To Make A Homemade Pack Organizer For A School Desk" sciencing.com, https://www.sciencing.com/homemade-pack-organizer-school-desk-4829039/. 24 April 2017.
APA
Watson, Angela Powell. (2017, April 24). How To Make A Homemade Pack Organizer For A School Desk. sciencing.com. Retrieved from https://www.sciencing.com/homemade-pack-organizer-school-desk-4829039/
Chicago
Watson, Angela Powell. How To Make A Homemade Pack Organizer For A School Desk last modified March 24, 2022. https://www.sciencing.com/homemade-pack-organizer-school-desk-4829039/
